 |
| You can no doubt see where the owl came from... |
The college where I spent my undergrad years, amusingly, did not have an official mascot when I first attended. Since I had just left a high school where we were a color rather than some alliterative animal (Big Green was only marginally better than calling us "the Doors"), I didn't find it that odd. Still, as a writer for the sports section of the college paper, calling us the "Bryn Mawr College Mawrtyrs" had always seemed overly literal.
The owl had long been the school's unofficial mascot, joining the ranks of other Beanie Baby-esque animals wearing minuscule college t-shirts in the campus bookstore. In my junior year (if this is false, someone with a better memory please correct me) the college officially voted that the owl would be our official athletic mascot. It still blows my mind that next year will be my 10th college reunion. Weird.
 |
| Whooo wouldn't want one? |
This recipe is best made with friends, for manual labor if nothing else. Like all artistic cupcake decorating endeavors, please leave yourself plenty of time, as things as simple sounding as 'separate several dozen Oreos without breaking them' takes more time than you'd think.
Or at least more time than I'd think.
Recipe and more photos behind the cut!
Owl Cupcakes
Ingredients:
 |
| I really broke the bank on taking a picture of this mis en place... |
chocolate frosting, prepared as you'd prefer
2 small bags of M&Ms
2 packages of Oreo cookies (always good to have extras)
Hardware
cupcake pancupcake liners
knife to spread icing
microwave* (trust me, I'll explain)
*not necessary, but helpful
First: say it with me.... GOT YOUR MIS EN PLACE???
Probably not, because I haven't told you how they should be... prepared, for lack of a better word.
1. Make your cupcakes. After baking, let them cool. No one likes melting owls. Except for perhaps Salvador Dali.
 |
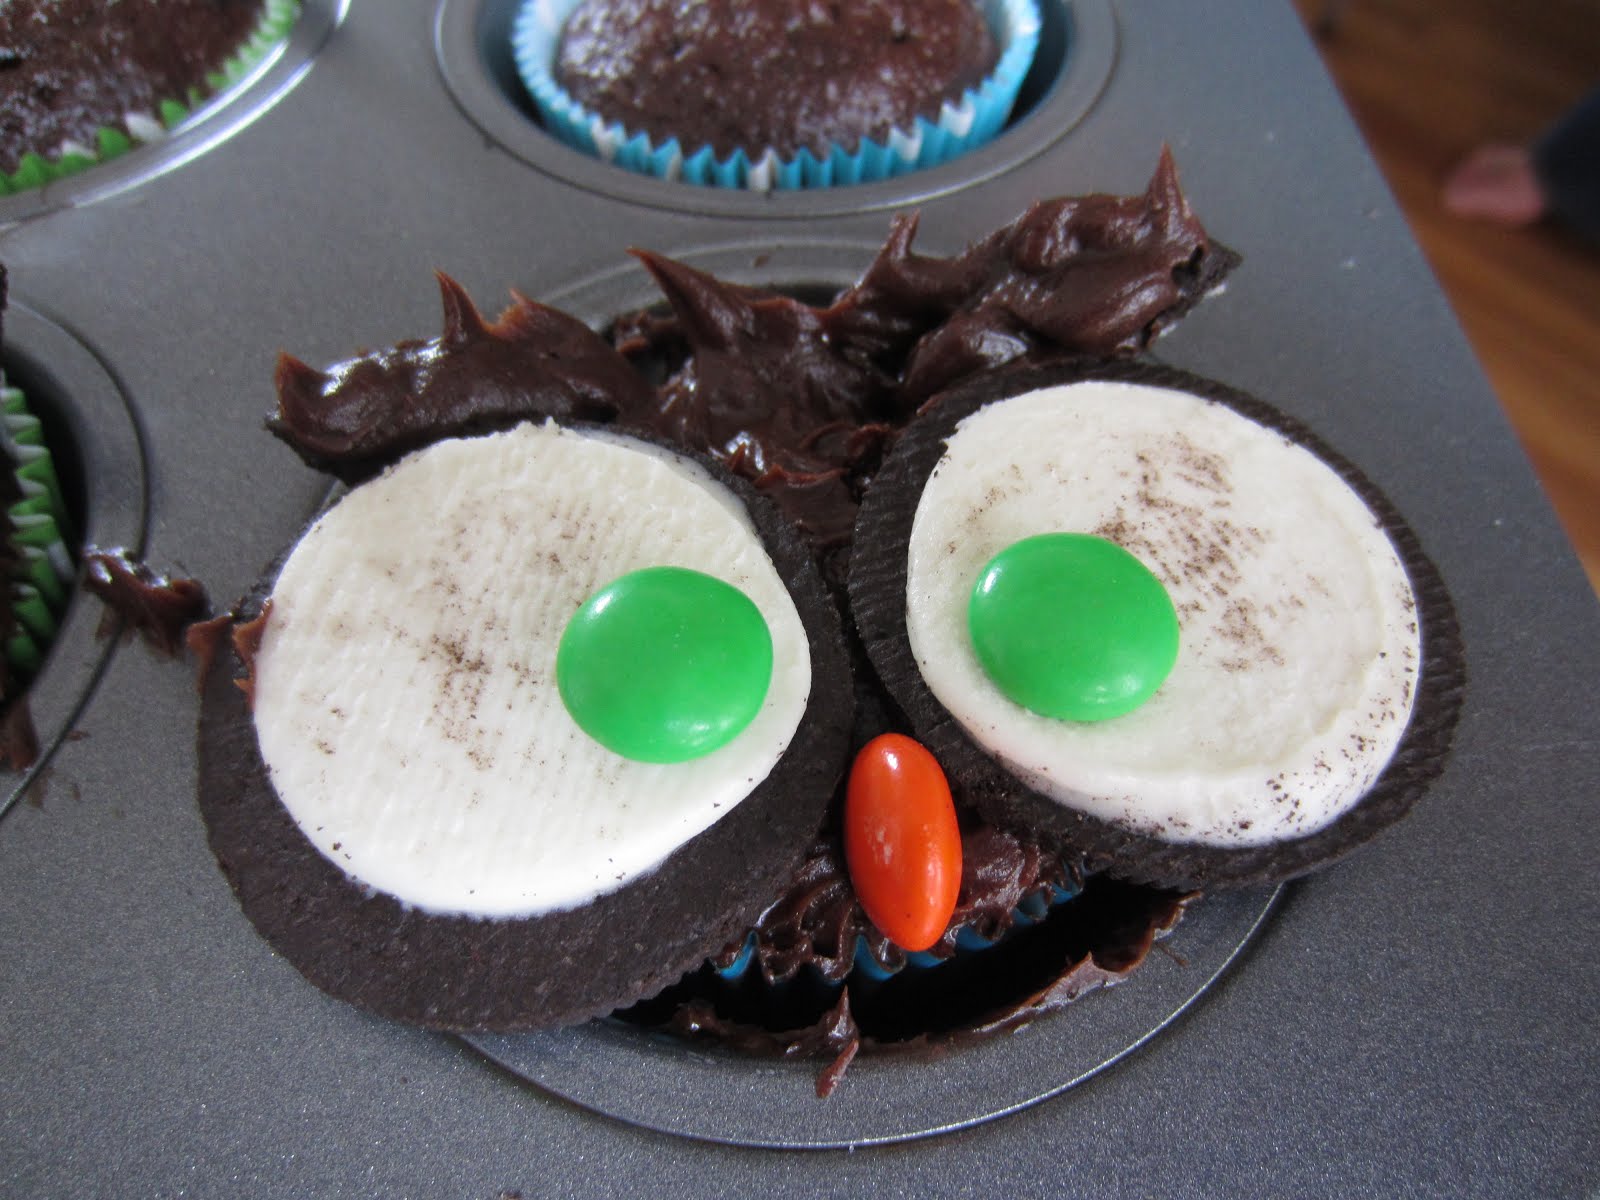
| Oreo eyes! |
2a. You will discover that separating the cookies cleanly is harder than it looks. This is where the (optional) microwave comes in. By zapping your cookies for about 10 seconds, this loosens the cookies enough that you can separate them, but not so much
that they melt (cause no one likes melting... you get the picture).
3. Spread each cupcake with chocolate frosting. Easy peasy.
 |
| One of these owls is not like the other, one of them just doesn't belong... |
4a. At this point, it is perfectly acceptable to eat any Oreo pieces that aren't perfect. Not to mention testing a cupcake if needed. And perhaps some frosting. You're thinking of your friends, really.
5. Place another M&M (red or orange or yellow... or blue, apparently?) as the beak. Try not to squeal, because you have made the cutest desserts ever. Make sure that you disavow all knowledge of all the owls that look a little drunk or a twigs short of a nest.
 |
| And if you don't ice it, it will look like a bat! |
7. Eat! Share! Enjoy the cute!
No comments:
Post a Comment